Map your workflow before you map your floor plan
The single most common lab-setup mistake is buying equipment first and figuring out the layout after. Start instead by listing every step of your core workflow -- sample receipt, extraction, PCR setup, amplification, detection, cleanup -- and only then decide which zones need to sit next to each other.
Separate pre- and post-amplification zones
Cross-contamination between pre-PCR reagent prep and post-PCR amplified product is one of the most common causes of false positives in a new molecular lab. Wherever space allows, keep master-mix preparation, sample loading, and amplification/detection in physically separate areas with one-way workflow -- reagents and samples should never travel backward through the lab.
Get your utilities right the first time
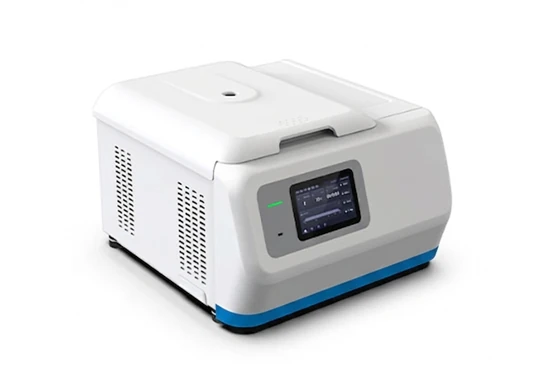
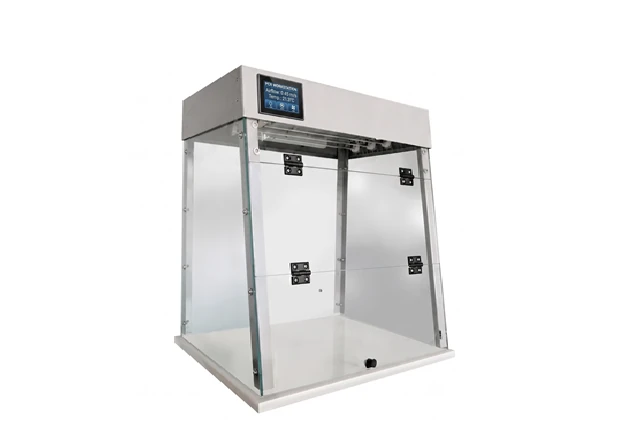
Confirm power load, backup power needs, and bench-level ventilation before ordering equipment, not after. A PCR workstation hood, biosafety cabinet, and refrigerated centrifuge all have different power and clearance requirements -- reworking electrical or ventilation after installation is expensive and slow.
Order the core instruments in this rough sequence
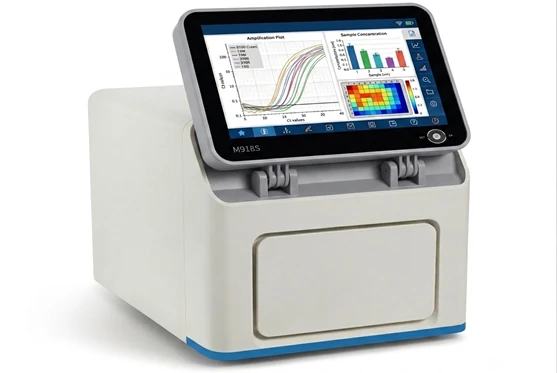
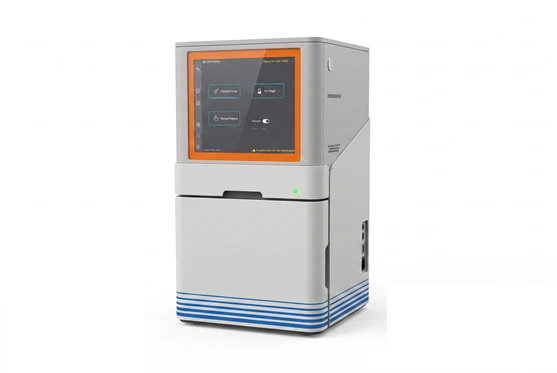
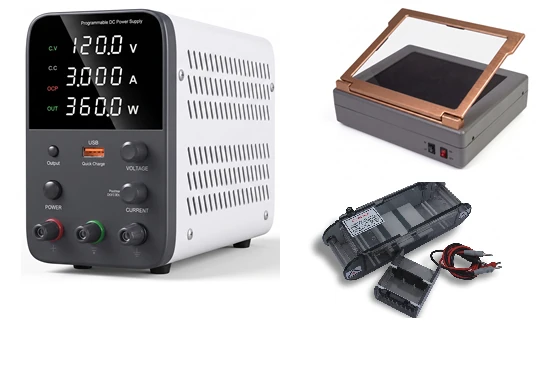
Pipettes and general bench equipment first, since every workflow depends on them from day one. Then your PCR workstation hood and thermal cycler or qPCR system. Then detection and documentation equipment -- gel electrophoresis and imaging. Specialized or lower-volume instruments can follow once the core workflow is running and validated.
Budget time for installation and validation, not just delivery
Instrument delivery date is not the same as go-live date. Build in time for installation, calibration, and a validation run with known samples before the lab depends on the equipment for real work.